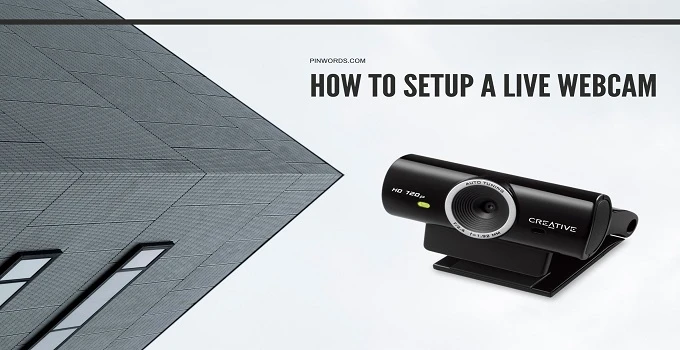
A webcam is a cornerstone for online video streaming. It is the device that helps create a deeper connection between a streamer and the audience but how to setup a live webcam?
Whether you are playing games or answering to questions on your YouTube channel, your audience will love to see the way you speak and make gestures.
Not only that but you will also gain organic followers. Since people always prefer unique and authentic content from a streamer, a live webcam acts as a medium for the satisfaction of both ends.
If you are someone who is prepping up for going live on social media for the first time, you’ve landed at the right place! We are here to help you out with this guide on how to setup a live webcam.
Contents

Setting up a live stream camera is not as difficult as it may sound. Once you learn to do it, you can set it up without any issue.
In order to start live streaming, you will need to select the audio and video sources. An audio source refers to a stream of audio data, while a video source refers to a stream of video data. Some common examples of audio and video sources are:
Professional setups typically consist of a DSLR camera, but you can also use an HD webcam, camcorder, or your smartphone’s camera. If you are looking for the least expensive option, you can stream directly using your laptop’s built-in camera.
As long as your device can deliver superb video quality, the choice is not an issue.
When it comes to audio, you will need to ensure it is capable of delivering crisp sound otherwise, your audience won’t have any idea what you are talking about. We recommend investing in a USB microphone because it will not only come in handy for your live streams, but also podcasts.
One important thing to keep in mind- when you are live streaming on YouTube or any other online video platform, be sure not to play copyrighted content as a background music. Doing so violates the copyright, and you may get banned from using your account.
Camcorders and DSLR cameras use an HDMI cable that can’t be connected to your laptop’s USB port directly. This is when a capture card comes to the rescue.
A capture card lets you connect your camera on one end and your laptop on the other, while capturing everything that the camera sees. Although it may seem complicated, you will enjoy high-quality footage up to 4K.
On the other hand, if you are using a webcam for your live streams, you can simply plug it into your laptop’s USB port without the need of a capture card.
A video-encoding software compresses and converts video into a format suitable for the web. It is a must-have for streamers who prefer using video cameras as these cameras don’t allow real-time streaming.
You will find a wide range of video-editing software, with OBS being the most popular choice. This free-to-download software has a user-friendly interface that makes it convenient for beginners and professionals alike. Not only that but also you can use it to set up multiple cameras for professional streaming.
If you are using your phone or tablet for live streaming, you don’t need to use such software because it can capture video and encode it at the same time.
A streaming destination refers to the platform or app where you will be streaming your live content publicly. Most live streamers use popular free sites, like YouTube, Twitch, and Facebook Live, while others use paid sites, such as StreamShark and Wowza.
We recommend you start using a free platform before moving on to a paid one, as it will help you develop a sound knowledge of the basics.
Having a poor internet speed is a nightmare for live streamers. It might not be a big problem if you are using dedicated Ethernet in your desktop computer, but if you are using WiFi, then it is likely the bandwidth will fluctuate.
On that note, you should run a speed test before going live. It is always best to have a bitrate that is two times greater than the streaming bitrate for reliable live streaming.
Often the cause of bandwidth fluctuations lies in the usage of multiple devices over WiFi. So, when you are going live, make sure to temporarily disconnect as much smart devices as possible.
Ever wondered how to set up multiple webcams for live streaming? Here’s how you can do it in OBS:
Live streaming is becoming popular than ever. As people have different devices within their reach, they can view the content of their interest on various platforms and interact with the streamer in real-time.
In order to become a successful live streamer, it is essential to set up the environment with the best equipment, focus on delivering quality video content, at a consistent schedule and interact with the audience.
We hope we were able to give you an insight on how to setup a live webcam. Now that you know about it, why not start setting up all the equipment and go live on your preferred platform?
 |
 |
 |
 |