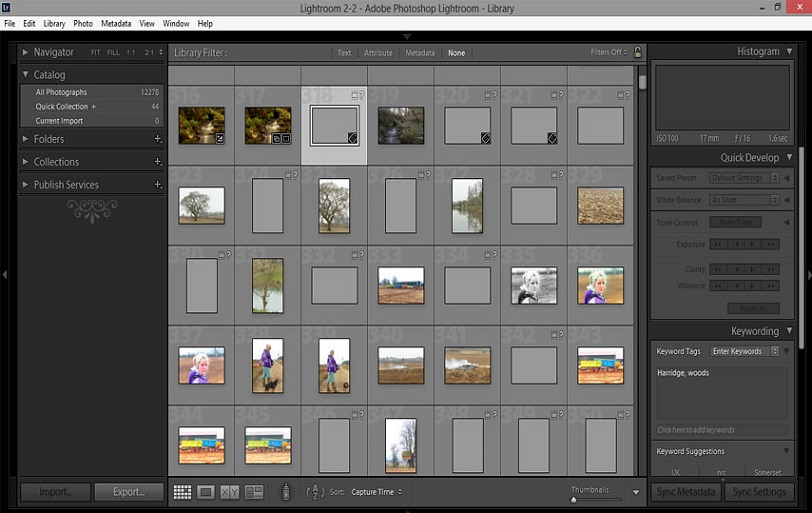
Photo editing can be long and arduous or it can be quick and easy. For most images, the latter is preferable.
Because a lot of the photos we take can use a little sprucing up, I think Lightroom is a great place to do that. Lightroom is equipped to handle many photos at once so I think it’s a great option for many photographers, amateurs and pros alike.
I wanted to share my 4-Step Editing Process with you to hopefully help you get on the road to faster editing.
Contents

After you’ve opened Lightroom, go to the Develop Mode and start in the Basic Panel. These adjustments will help you fine-tune your exposure.
Most likely each image will require different adjustments so there’s no one way to move these sliders. In general, though, I tend to bump up Highlights and Whites, while decreasing Shadows and Blacks.
After you have the exposure looking the way you want it to, you can fine-tune the color.
At the top of the Basic Panel you’ll find the White Balance controls. I like to do this step after the Exposure adjustments because I can get a better feel for the color now that the exposure is more accurate.
The last thing in the Basic Panel is Presence. Here you can play with:
Of these three options, I typically only adjust Vibrance, if I use it at all. But boosting Vibrance does tend to add a good, subtle dose of color.
There’s a little toolbar that sits below the Histogram and above the Basic Panel and it’s at this stage you can start to use them.
Here are the tools available to you:
The tools I use the most are the Crop (to straighten horizons or go tighter), Spot Removal (take out dust, etc.) and the Adjustment Brush (apply targeted enhancements like exposure or saturation).
If you’re done editing and don’t intend to work on this image any further, you can apply some sharpening in Lightroom’s Detail Panel.
Sharpening is typically the last edit you’ll want to apply to your images and that’s why I save it for last.
The beauty of Lightroom is that whatever you do can be undone. It’s a non-destructive editor that allows you to go backwards if you decide later that you don’t like what you’ve done.
I think you’ll benefit, though, from keeping your edits pretty simple and straightforward. And once you get the hang of Lightroom and learn what adjustments you like to make to your own images, it’s a good idea to apply them in the same order every time.
The last thing to keep in mind is to go easy with your edits (less is better). A good rule of thumb is to move the slider to where you think it looks good, then back it off just slightly. That typically gives you a better, and more even, result.
I hope that helps and remember to have fun with it and make your style your own. Happy shooting!
Kim Olson is a Photographer & Writer who shares easy weekly photo tips on www.simplerphoto.com. Kim also writes on her personal site, www.kimolsonphoto.com, where she focuses on travel & simplicity.


You can get FREE Gifts. Or latest Free phones here.
Disable Ad block to reveal all the info. Once done, hit a button below


